Showing posts with label art projects. Show all posts

Tuesday, March 5, 2013

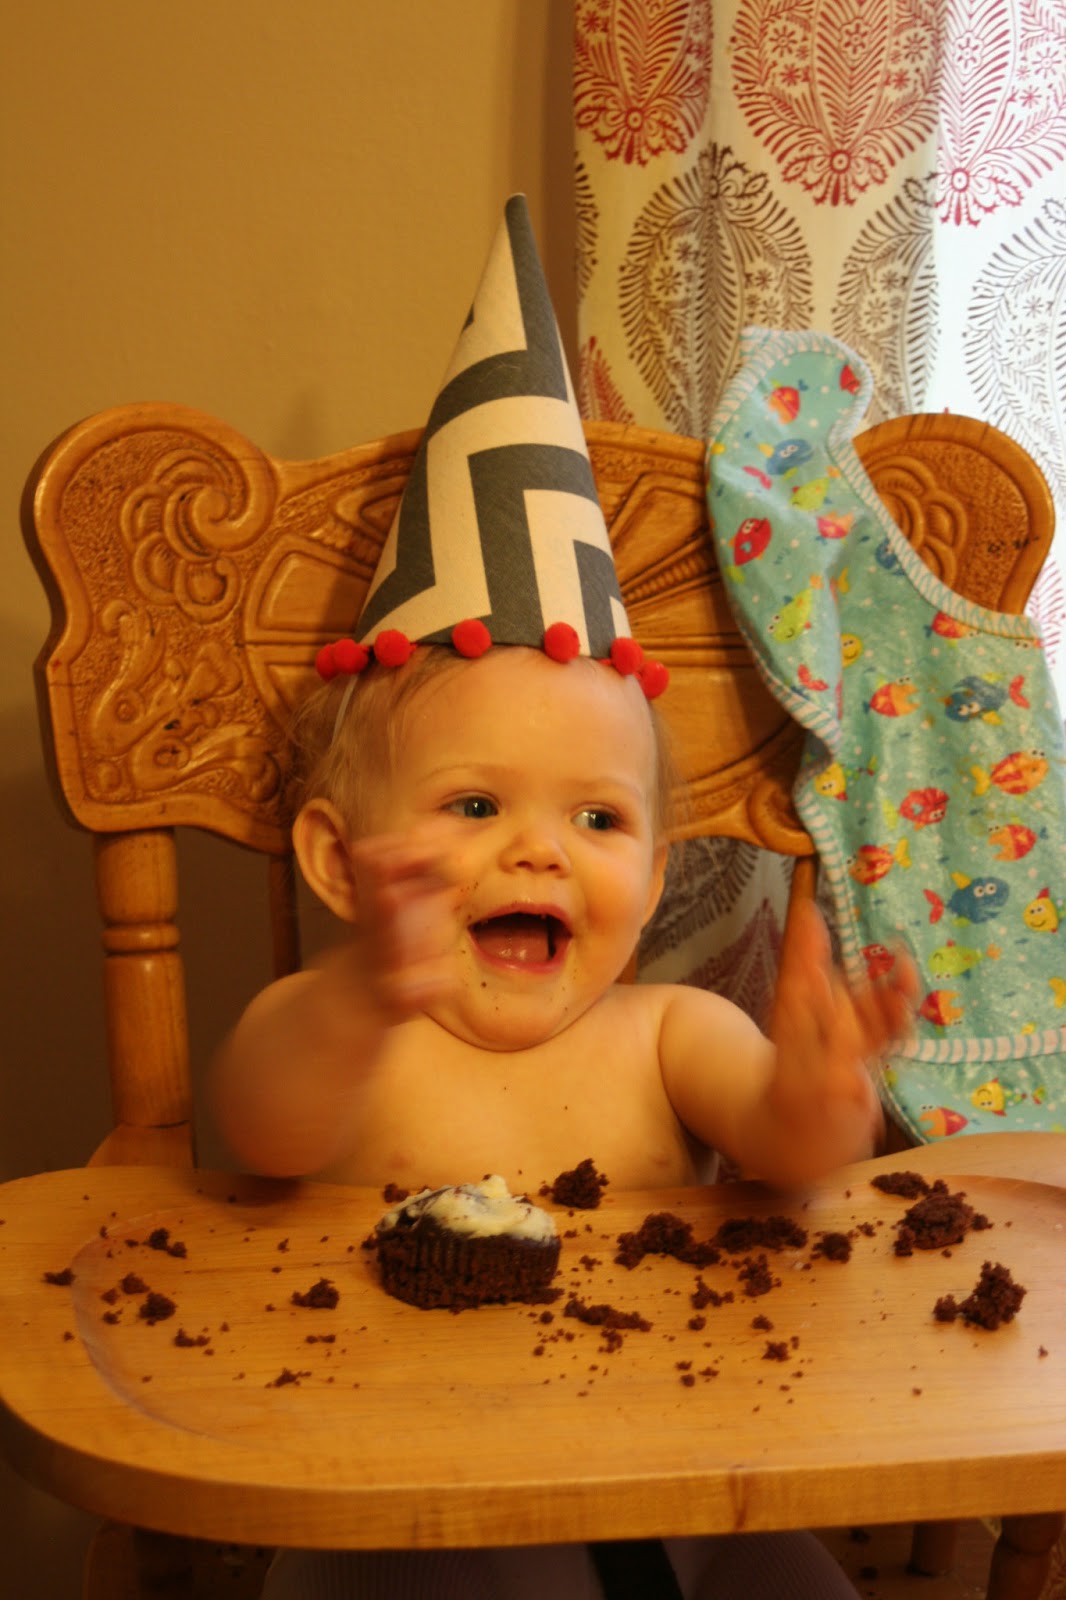
How to make a birthday hat

I found this great tutorial for a birthday hat here. I printed the pattern and got to work. I also had more of the material that I used to reupholster the chairs and the banner. I gathered my materials: Cheerios box, glue gun, scissors, pattern, and fabric. It was a quick and easy project.

Cut out the pattern.

Cut out the fabric.
Glue it on the cardboard.
Ta da.
I added the elastic and colorful fringe.

Thursday, February 28, 2013

Happy Birthday Banner


When I was growing up we had a happy birthday banner. It was made out of metallic cardstock-ish paper with metal connectors. The colors were: red, gold, green, and blue. They shimmered the way a flashlight does when it is running low on batteries. It didn't hang alone there were also Garfield coloring book pages that were specifically birthday themed

Whenever it was someone's birthday I would pop out of bed and head to the china cabinet. We kept our sign and coloring pages in the drawers below (you know right under the fancy china). I'm telling you birthdays have always been special. I would rush out to the mantle and hang the banner and pages from the nails left from Christmas.  I was always very careful to beat the birthday honoree up so they would be totally surprised even though I did this every year. I loved it and I hope to pass that excitement on to Vivi and any other friends or family I have the privilege to celebrate with.

Viola will turn one tomorrow, Frank (my father in law) has a birthday on Saturday and Will turns 30 the following week. Needless to say we have need for a birthday banner. Don't worry I took care of it. You may remember this fabric from this previous project. I used the left overs to make the banner.


Wednesday, October 10, 2012

Bookbinding- How it works

I finally made Vivi's baby book! I am so excited. I have been talking about this book for I don't know how long. It was really easy and didn't take hardly anytime at all. I will do my best to walk you through the process I used. 

I tied my strings to the top screws and ran them through the base to the bottom screws.

Using the strings I marked where I needed to make holes.

I sawed my marks just enough so I could tell where to sew.

I used my awl to make the holes.

I thread my waxed string in the hole.I ran the needle around the red string and back through the same hole.

I did this all the way down and then added another page.

I cut the different color strings and tied the ends together.

I taped it for extra support and then glued it into my book.

Tuesday, October 2, 2012

Bookbinding Jig


One of the things that I wanted for my birthday was a bookbinding jig. When I was pregnant I looked all over for a baby book and I couldn't find one I liked. I decided that I would make one {here is the beginning of this project}. I had a friend in graduate school who showed me how to bind books so I was already a little familiar. My sweet and handy brother created a jig for me after watching a you tube video. He taught me some carpentry basis as I documented with photos. Thanks again Chad.

Measuring

Drilling holes for the screws.

I screwed those in.

Now to fortify the base and add a few more screws.

The assistants to the assistant.

Final product.

Thursday, September 27, 2012

Birthday Craft

Georgie, one of my dearest friends, had a birthday this past week and so I made her a towel for her kitchen. She and her husband have moved here all the way from New Zealand to go to seminary in Orlando. I am very excited to see what these next 3 years brings...I'm hoping a baby. Happy Birthday George!


I had a little helper.

Thursday, February 16, 2012

I Heart Iron-Ons

I had so much fun today playing with these iron-ons. I had some money leftover from the gift card from our amazing friends in Lusaka.  I decided to get these adorable iron-ons. I am so glad I did the onesizes turned out so cute. I had to stop myself so I didn't do them all in one day. Don't be surprised if you come to visit and find irons-ons on trash cans and toilet lids.


Wednesday, February 15, 2012

Pillow Talk

Decorating has been a little tricky since we don't know what we are having. I have tried to stay with a range of colors. I have never noticed how gender divided everything is since we went looking for baby stuff. I am not much on splattering pink or blue all over a room so I wasn't that bothered that we didn't have a gender color scheme. It gave me a chance to be creative. I tried to use what I had for the most part and was successful. I decided the rocking chair that I picked up from Goodwill several months ago needed a pillow. I used the felt star to incorporate a little more green into the room. Here is what I made.


Thursday, July 14, 2011

Making Stationary

The countdown is on and we are packing like crazy. Before I said goodbye to my craft supplies I decided to do one last project. Will surprised me with a new colorful stamp pad. What's a girl to do but brake that baby in? I love writing letters. I am going to attempt to write a letter once a month while I am gone. 


Tuesday, July 12, 2011

Stamp Making 101

I came across a homemade stamp kit several weeks ago when I was perusing the aisles at Hobby Lobby. I kept wishing I would have bought it. Last week I did and have enjoyed the process. I made two stamps for friends that are getting married this summer. I though I could spice up their thank you cards. If anyone is interested in purchasing a stamp with a design or initials let me know.


Monday, June 13, 2011

My Monday evening...

Here's what I am working with.

I saw these glasses and thought it would make a cute
necklace. I like it when things turn out how I hoped.

These buttons belonged to my
 great great aunt Vi. They make a
great accent to this pouch.